Remote Developement with Visual Studio Code
This document is a basic tutorial for remotely connecting to the department's servers via Visual Studio Code.
The first step is to download Visual Studio Code and the Remote Development extension.
Once you have downloaded Visual Studio Code, to download the extension go to the icon:
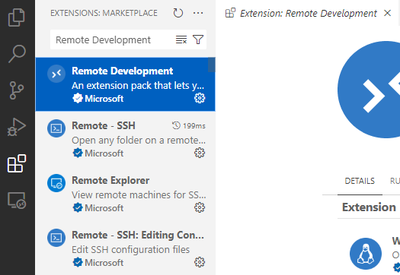
And type "Remote Development" in the search bar.
To create the connection to the server, click on the green button at the bottom left.
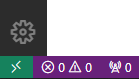
In the search bar that appears, select the "Connect to Host ..." option.

The entire list of servers previously configured by ssh will be displayed. If the department server has not been configured before, click on the penultimate button called "Add New SSH Host ...".

And type the SSH command needed to access the server. Important: don't forget to specify the port accordingly to your research group.
Change the port and user to the appropriate values in your case.
Then, you will need to enter your password.

Once you follow these steps, you will be connected to the server. You can check this with the green button at the bottom left. From now on, the files you create, will be created on the server and the Visual Studio Code terminal will be connected via SSH to the server.

Once the configuration is done, you can close the connection by clicking the green button above.

And reopen it when you need it, by clicking on the green button again and select the next options:


Share: